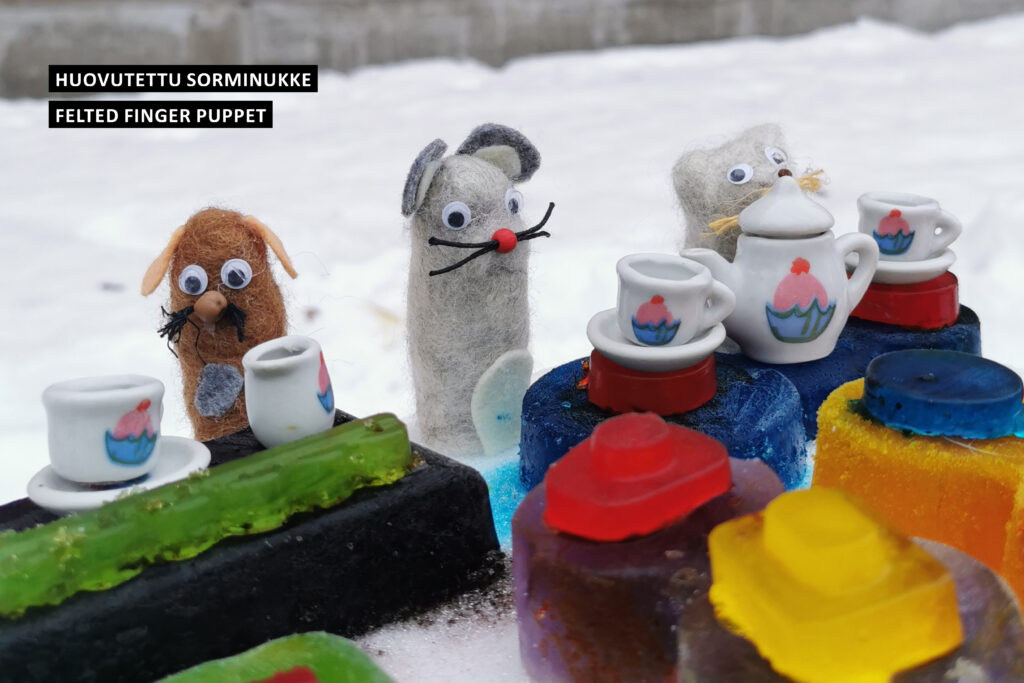
Felted finger puppet
In English
Kotona tehtävät
Kuvataide ja kädentaidot
- ennen kuin saat osat tarttumaan toisiinsa.

Felted puppet
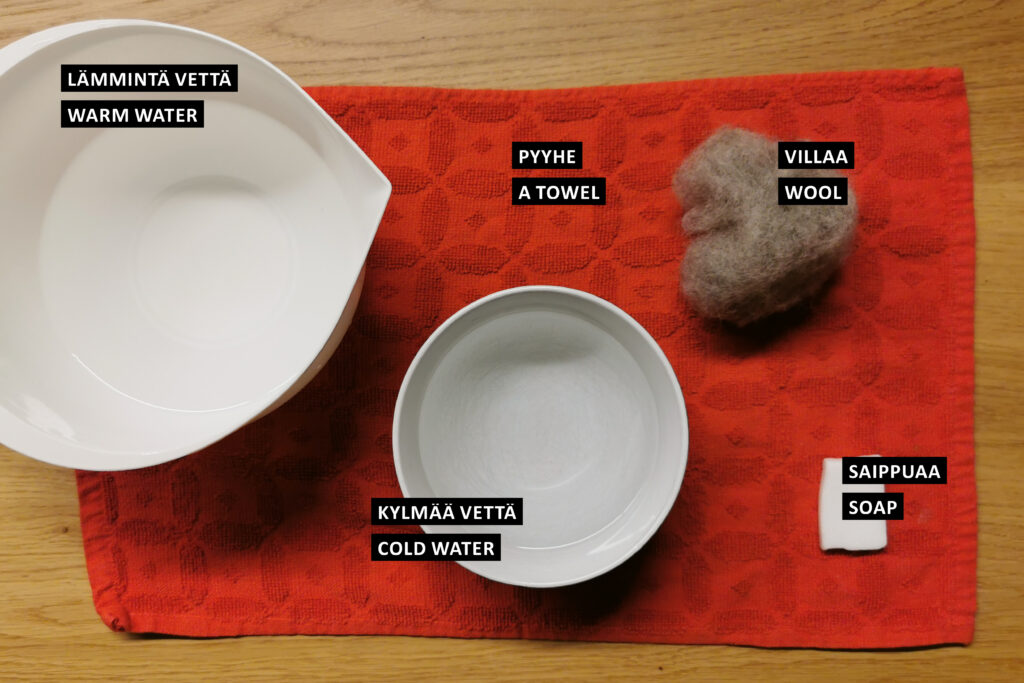
Materials for felting: Wool, soap, warm water, cold water and a towel for protecting the table.
For finishing the puppet: Glue, sticks for gule, eyes, yarn for whiskers, pearls or dried peppers for nose and felted fabric for ears and tails ect.
Steps:
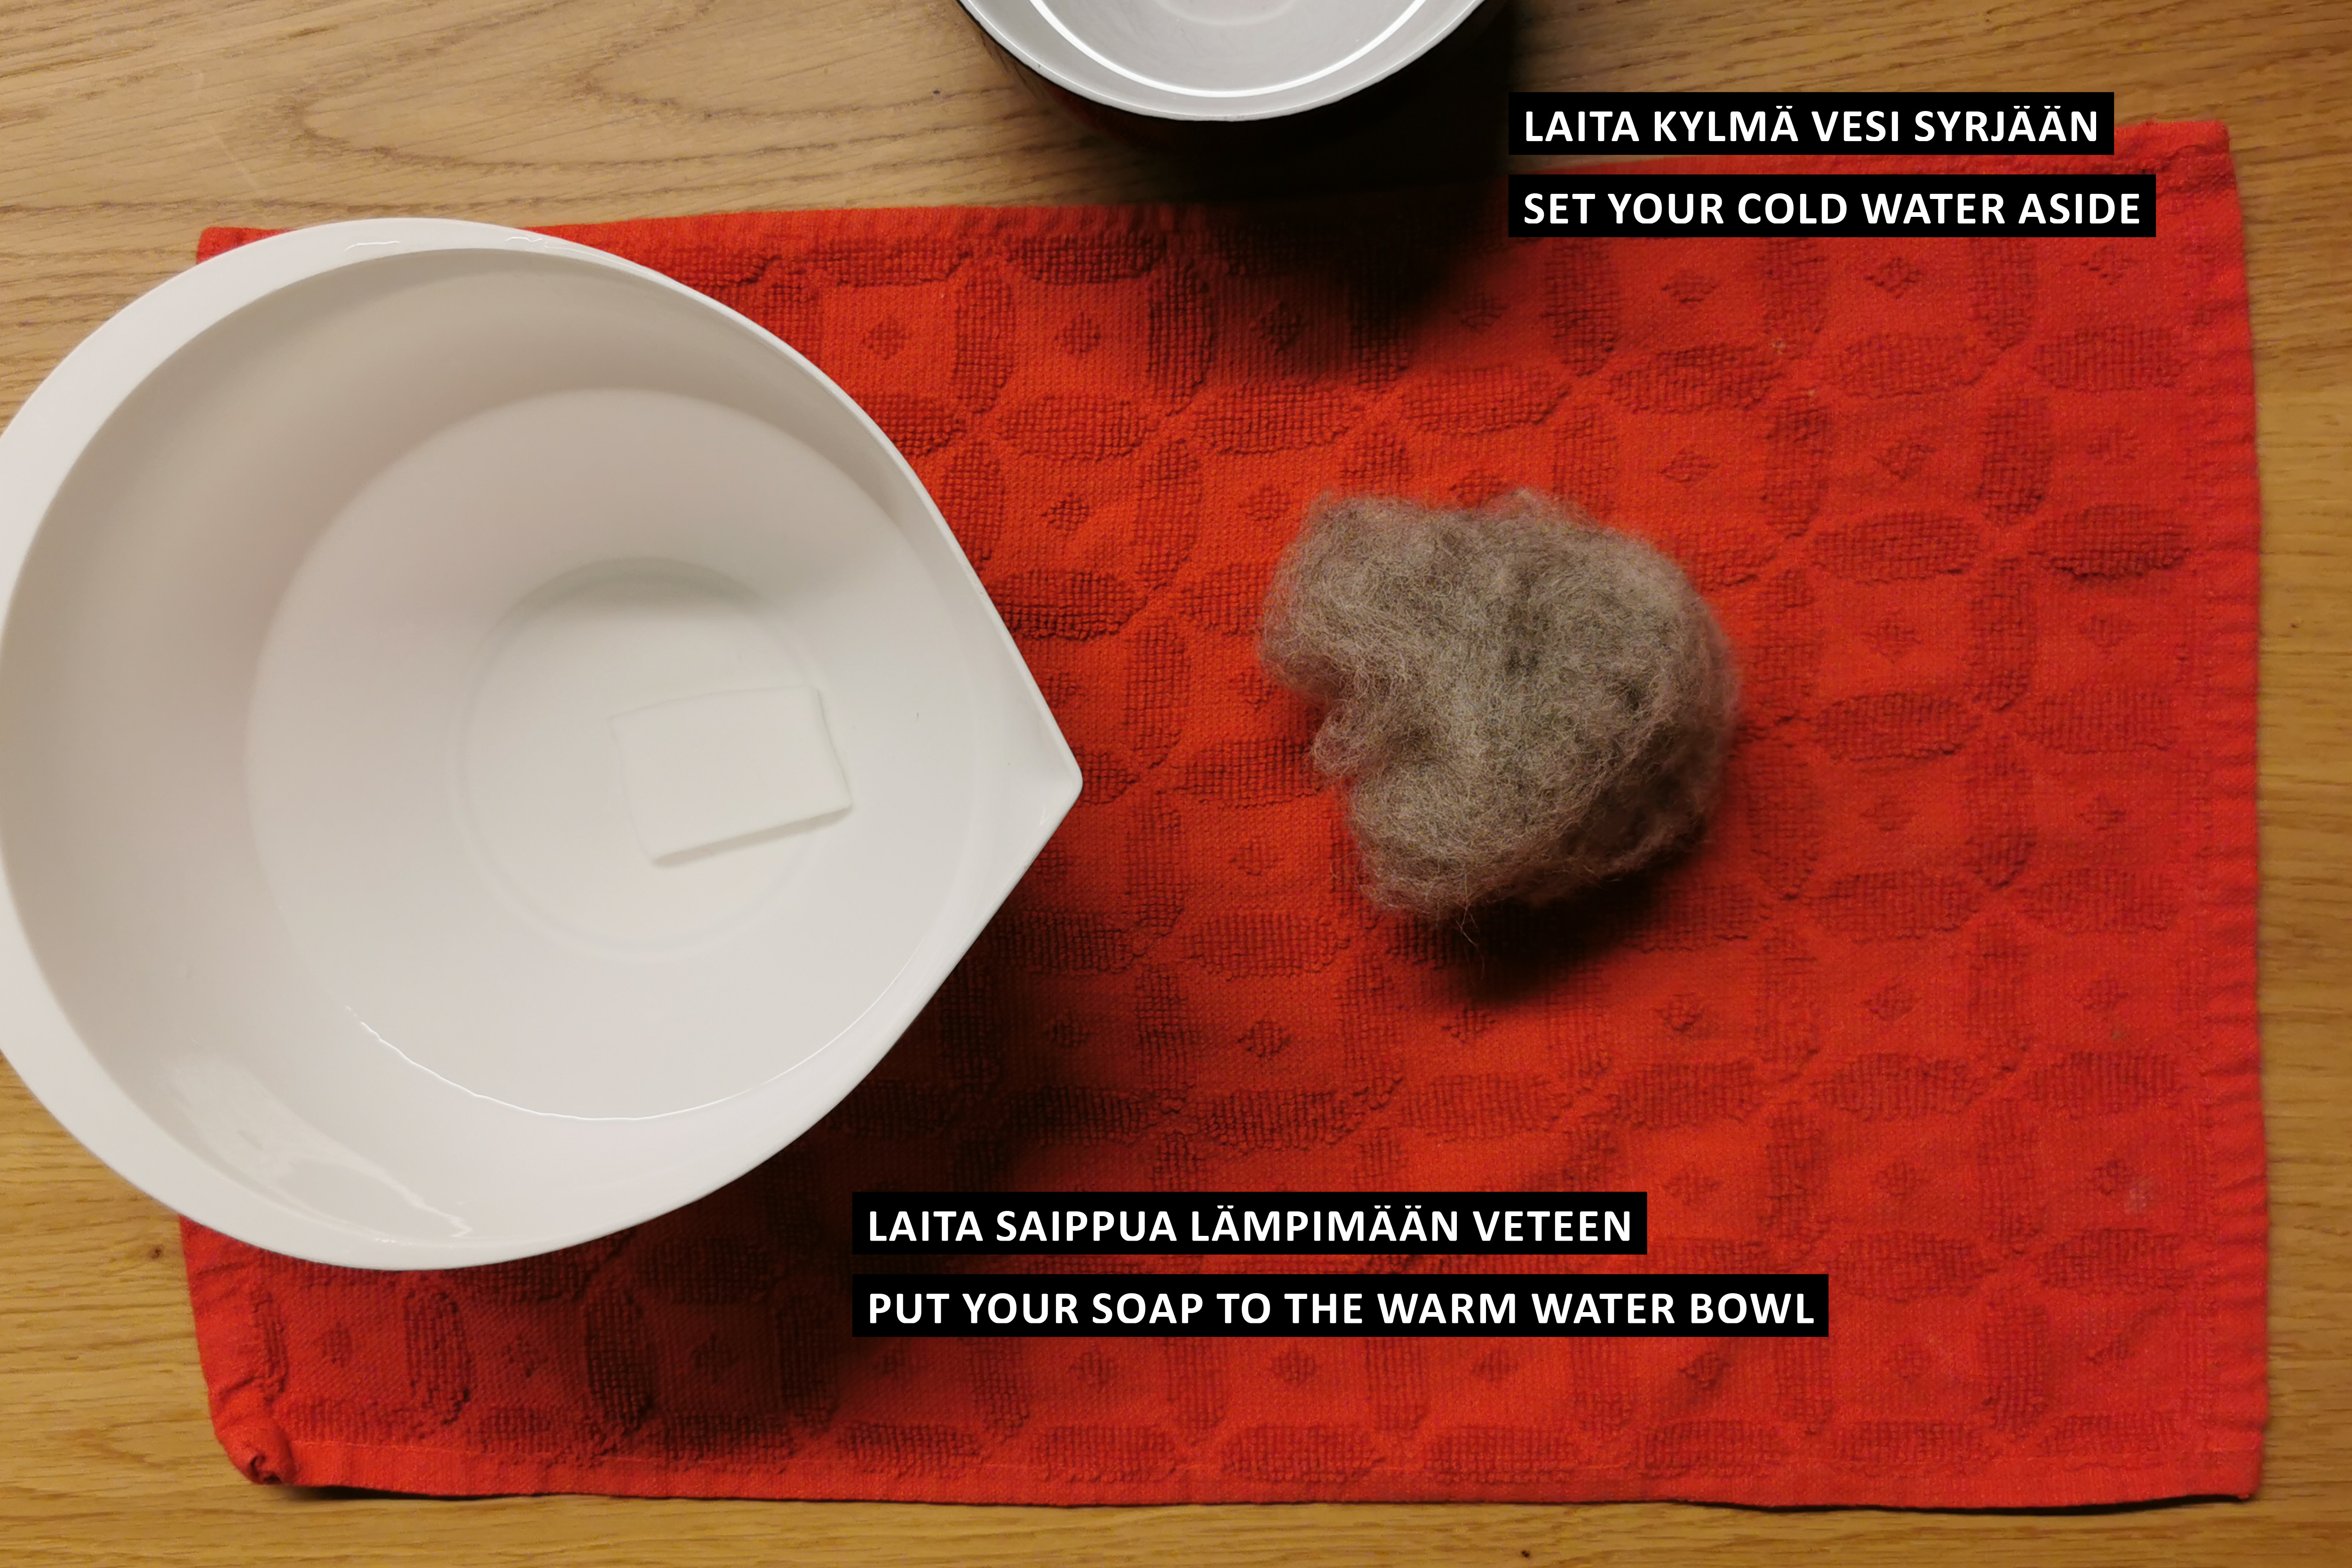
- Set a small towel to cover your table or working area.
- Put warm water in a bowl and drop your soap in the water.
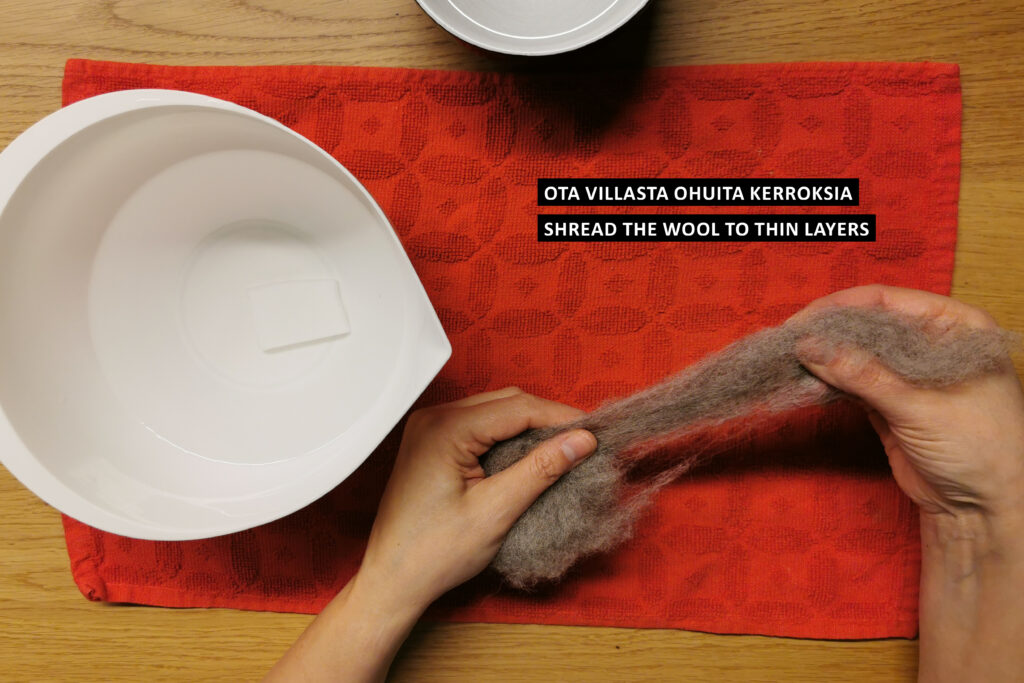
- Pick wool and shread it to thin layers.
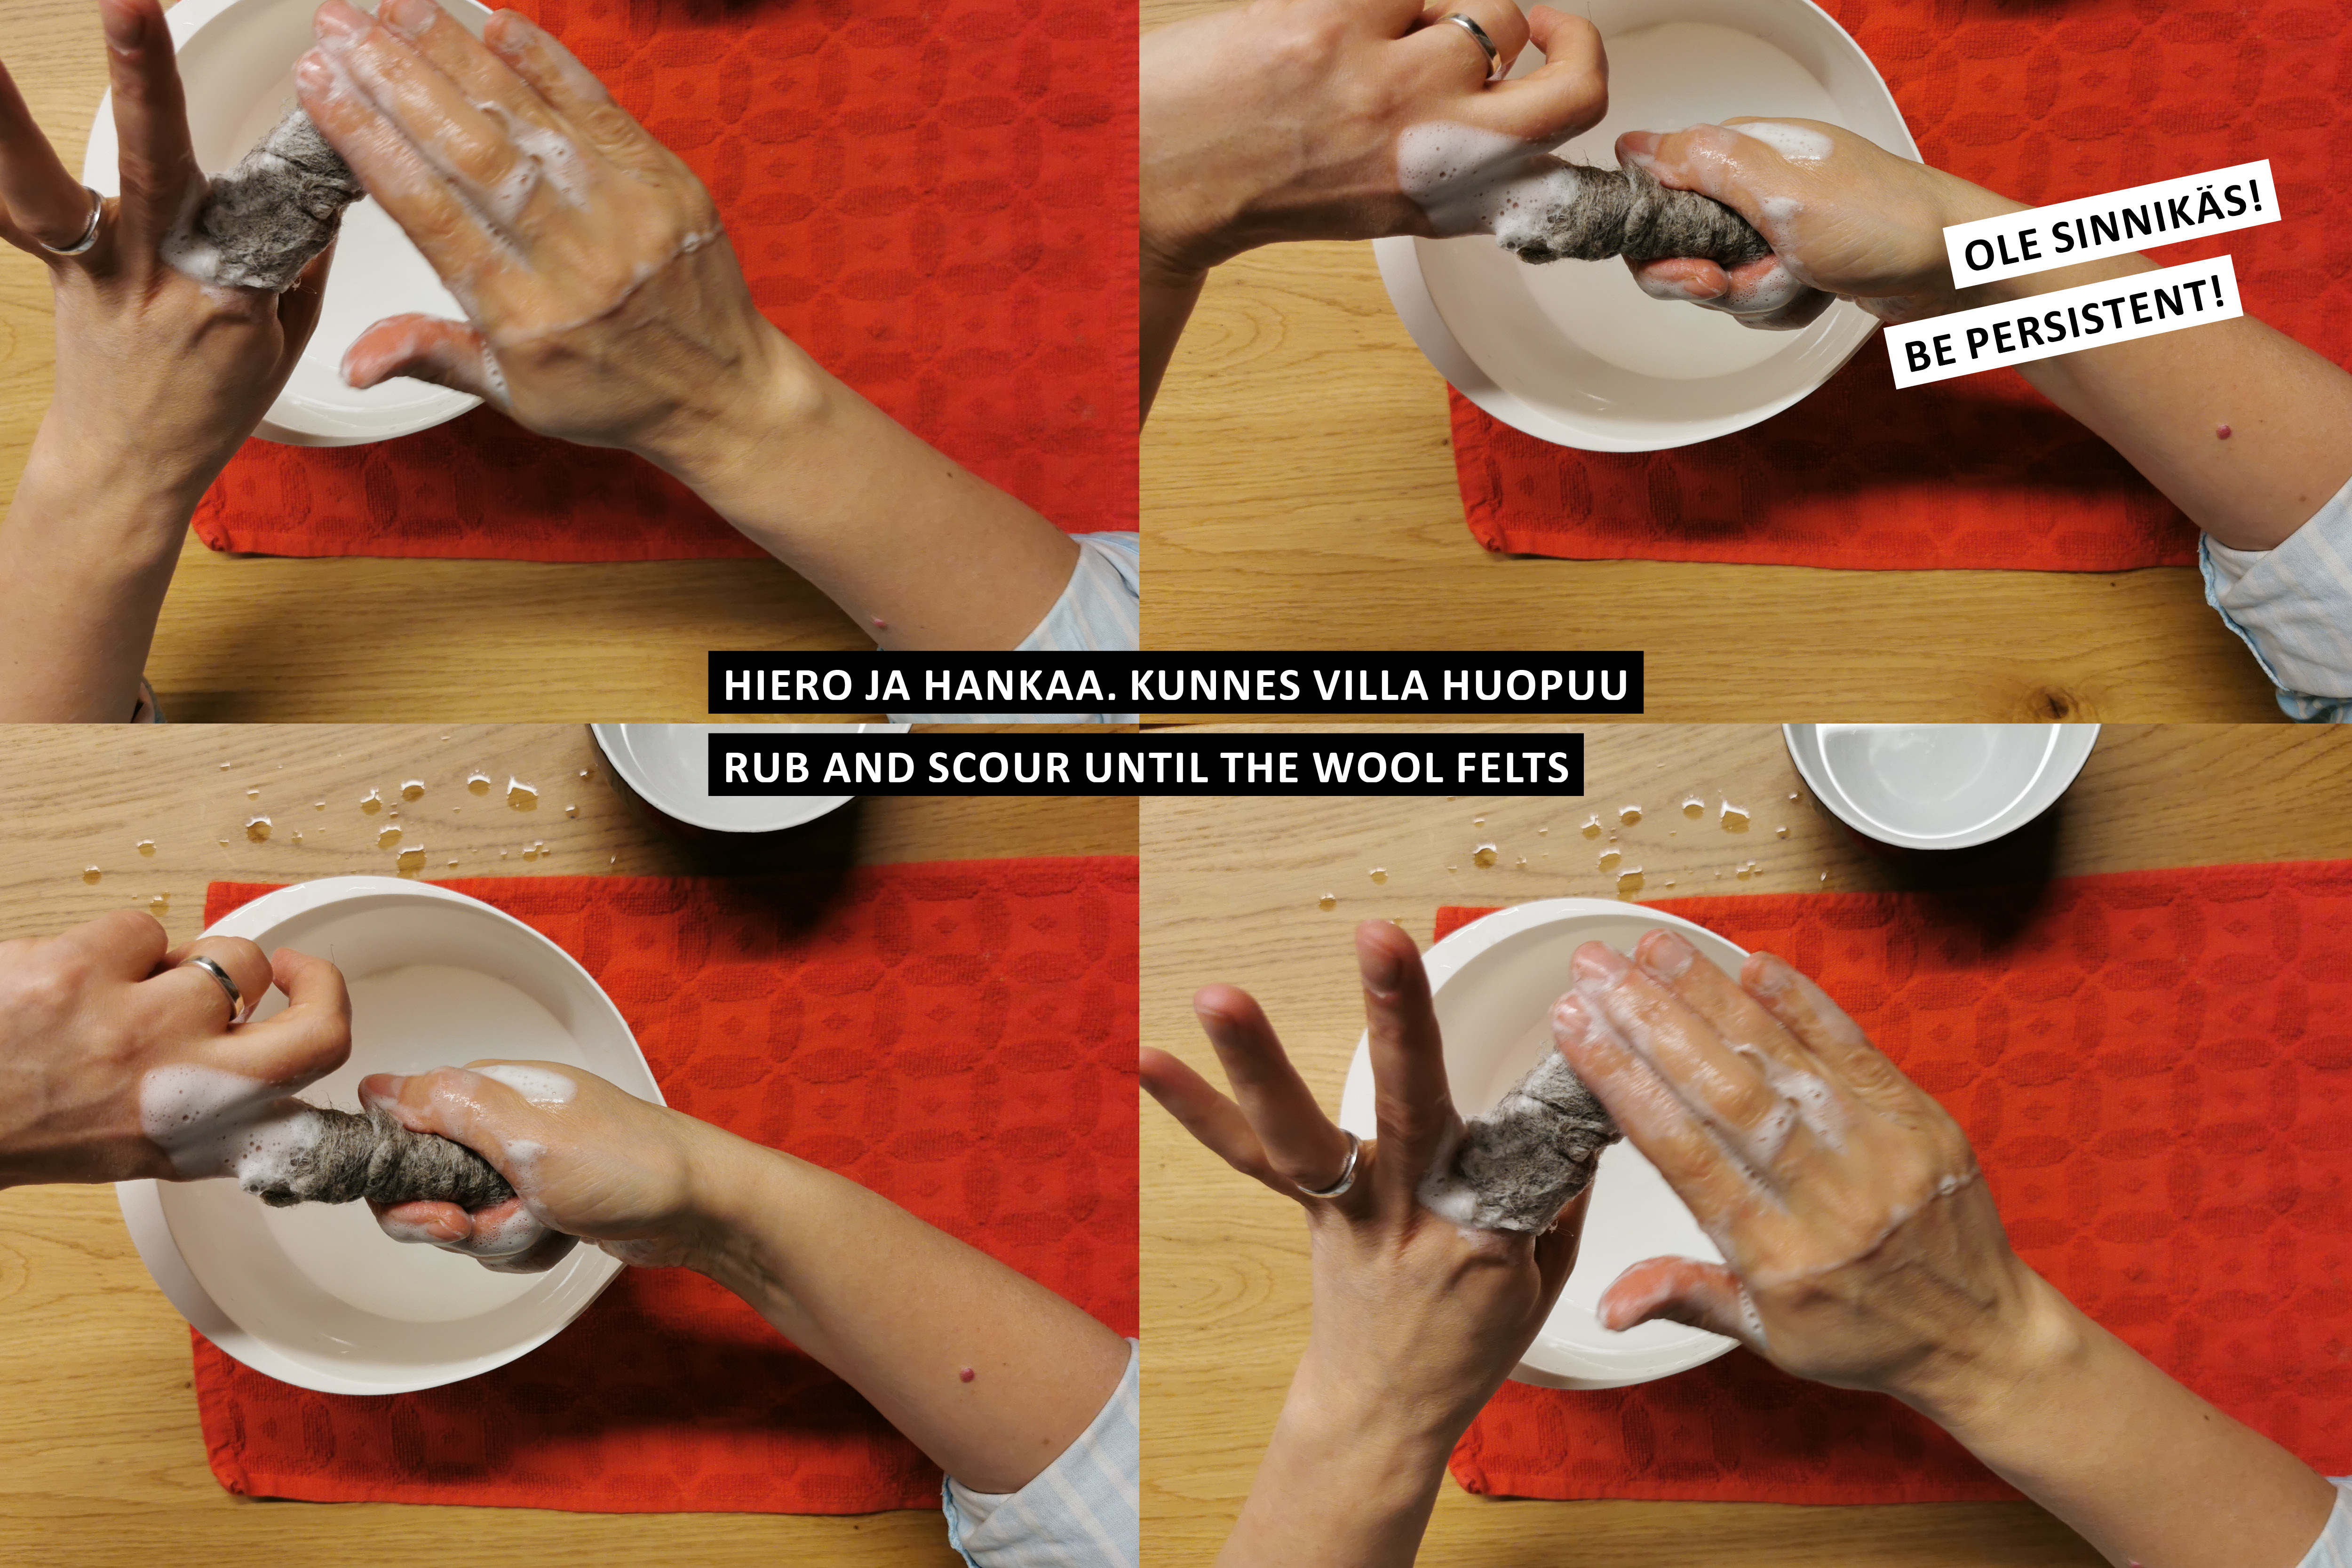
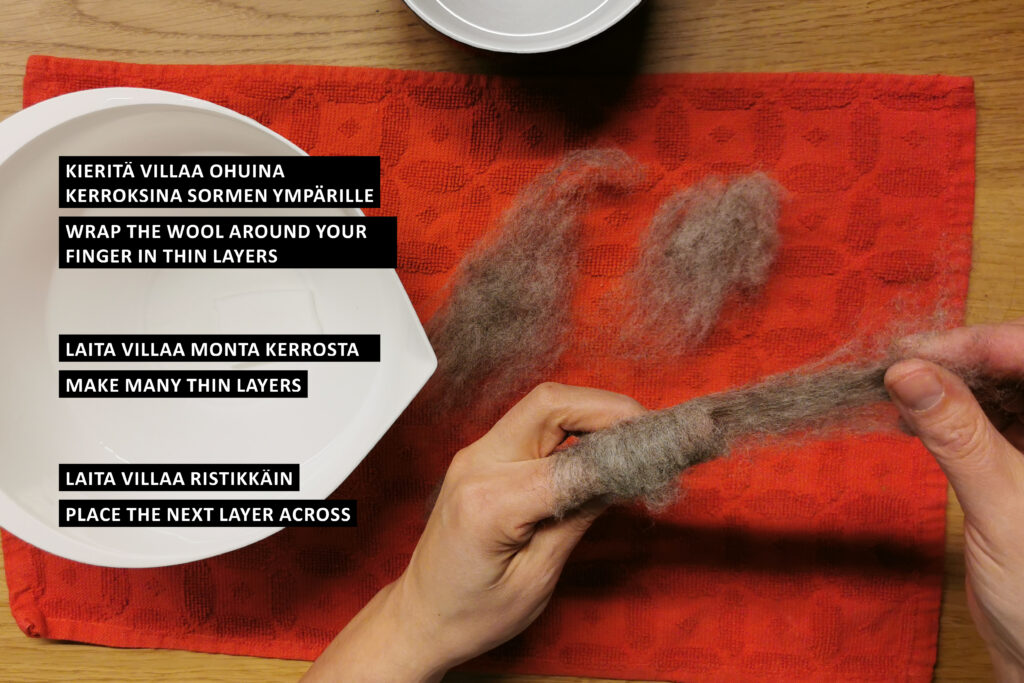
- Set the wool around your finger. Make many acrossed layers.
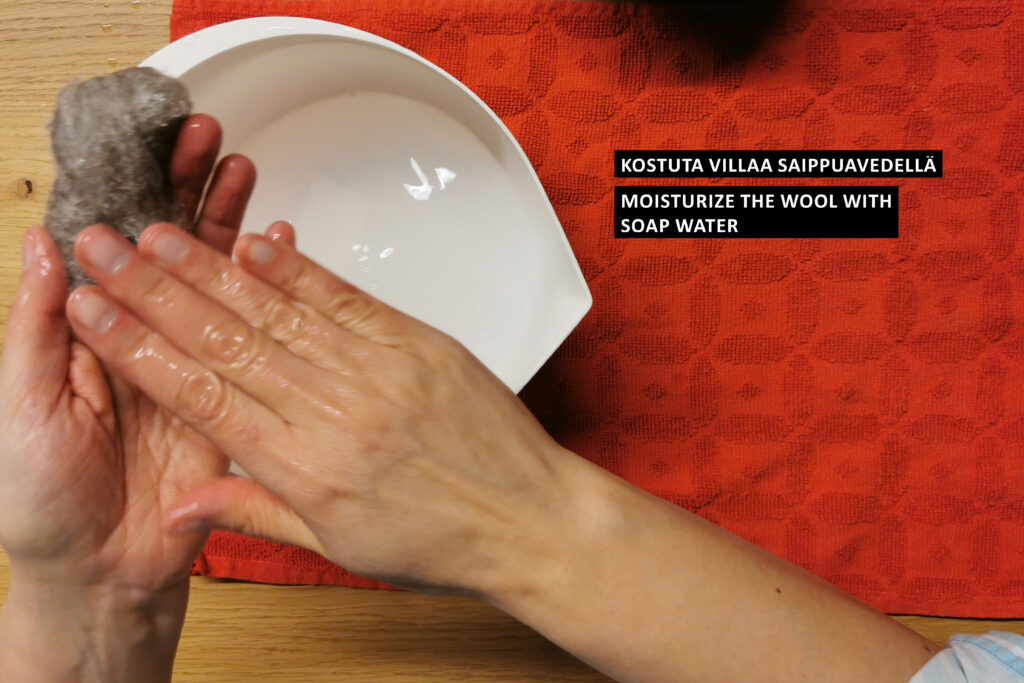
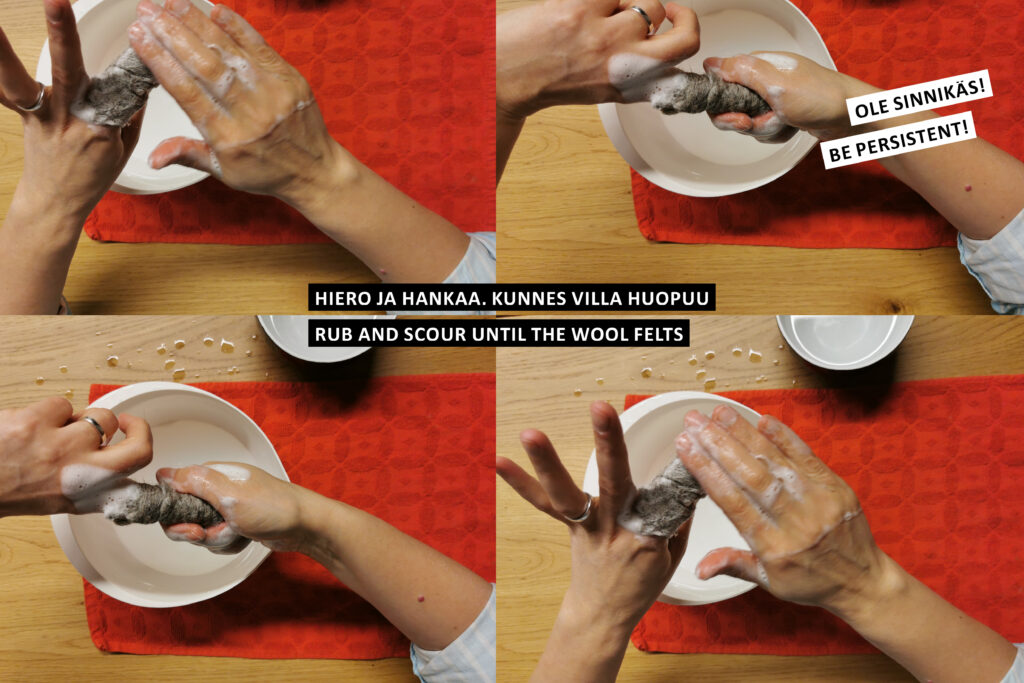
- Tap the wool with soap water all around. Then rub it with gently. When the wool starts to felt, you can rub harder.
- Add soap when needed. You can even rub the felt with the soap bar. Keep on rubing until the wool thikens. Making the wool felt takes time so be patient.
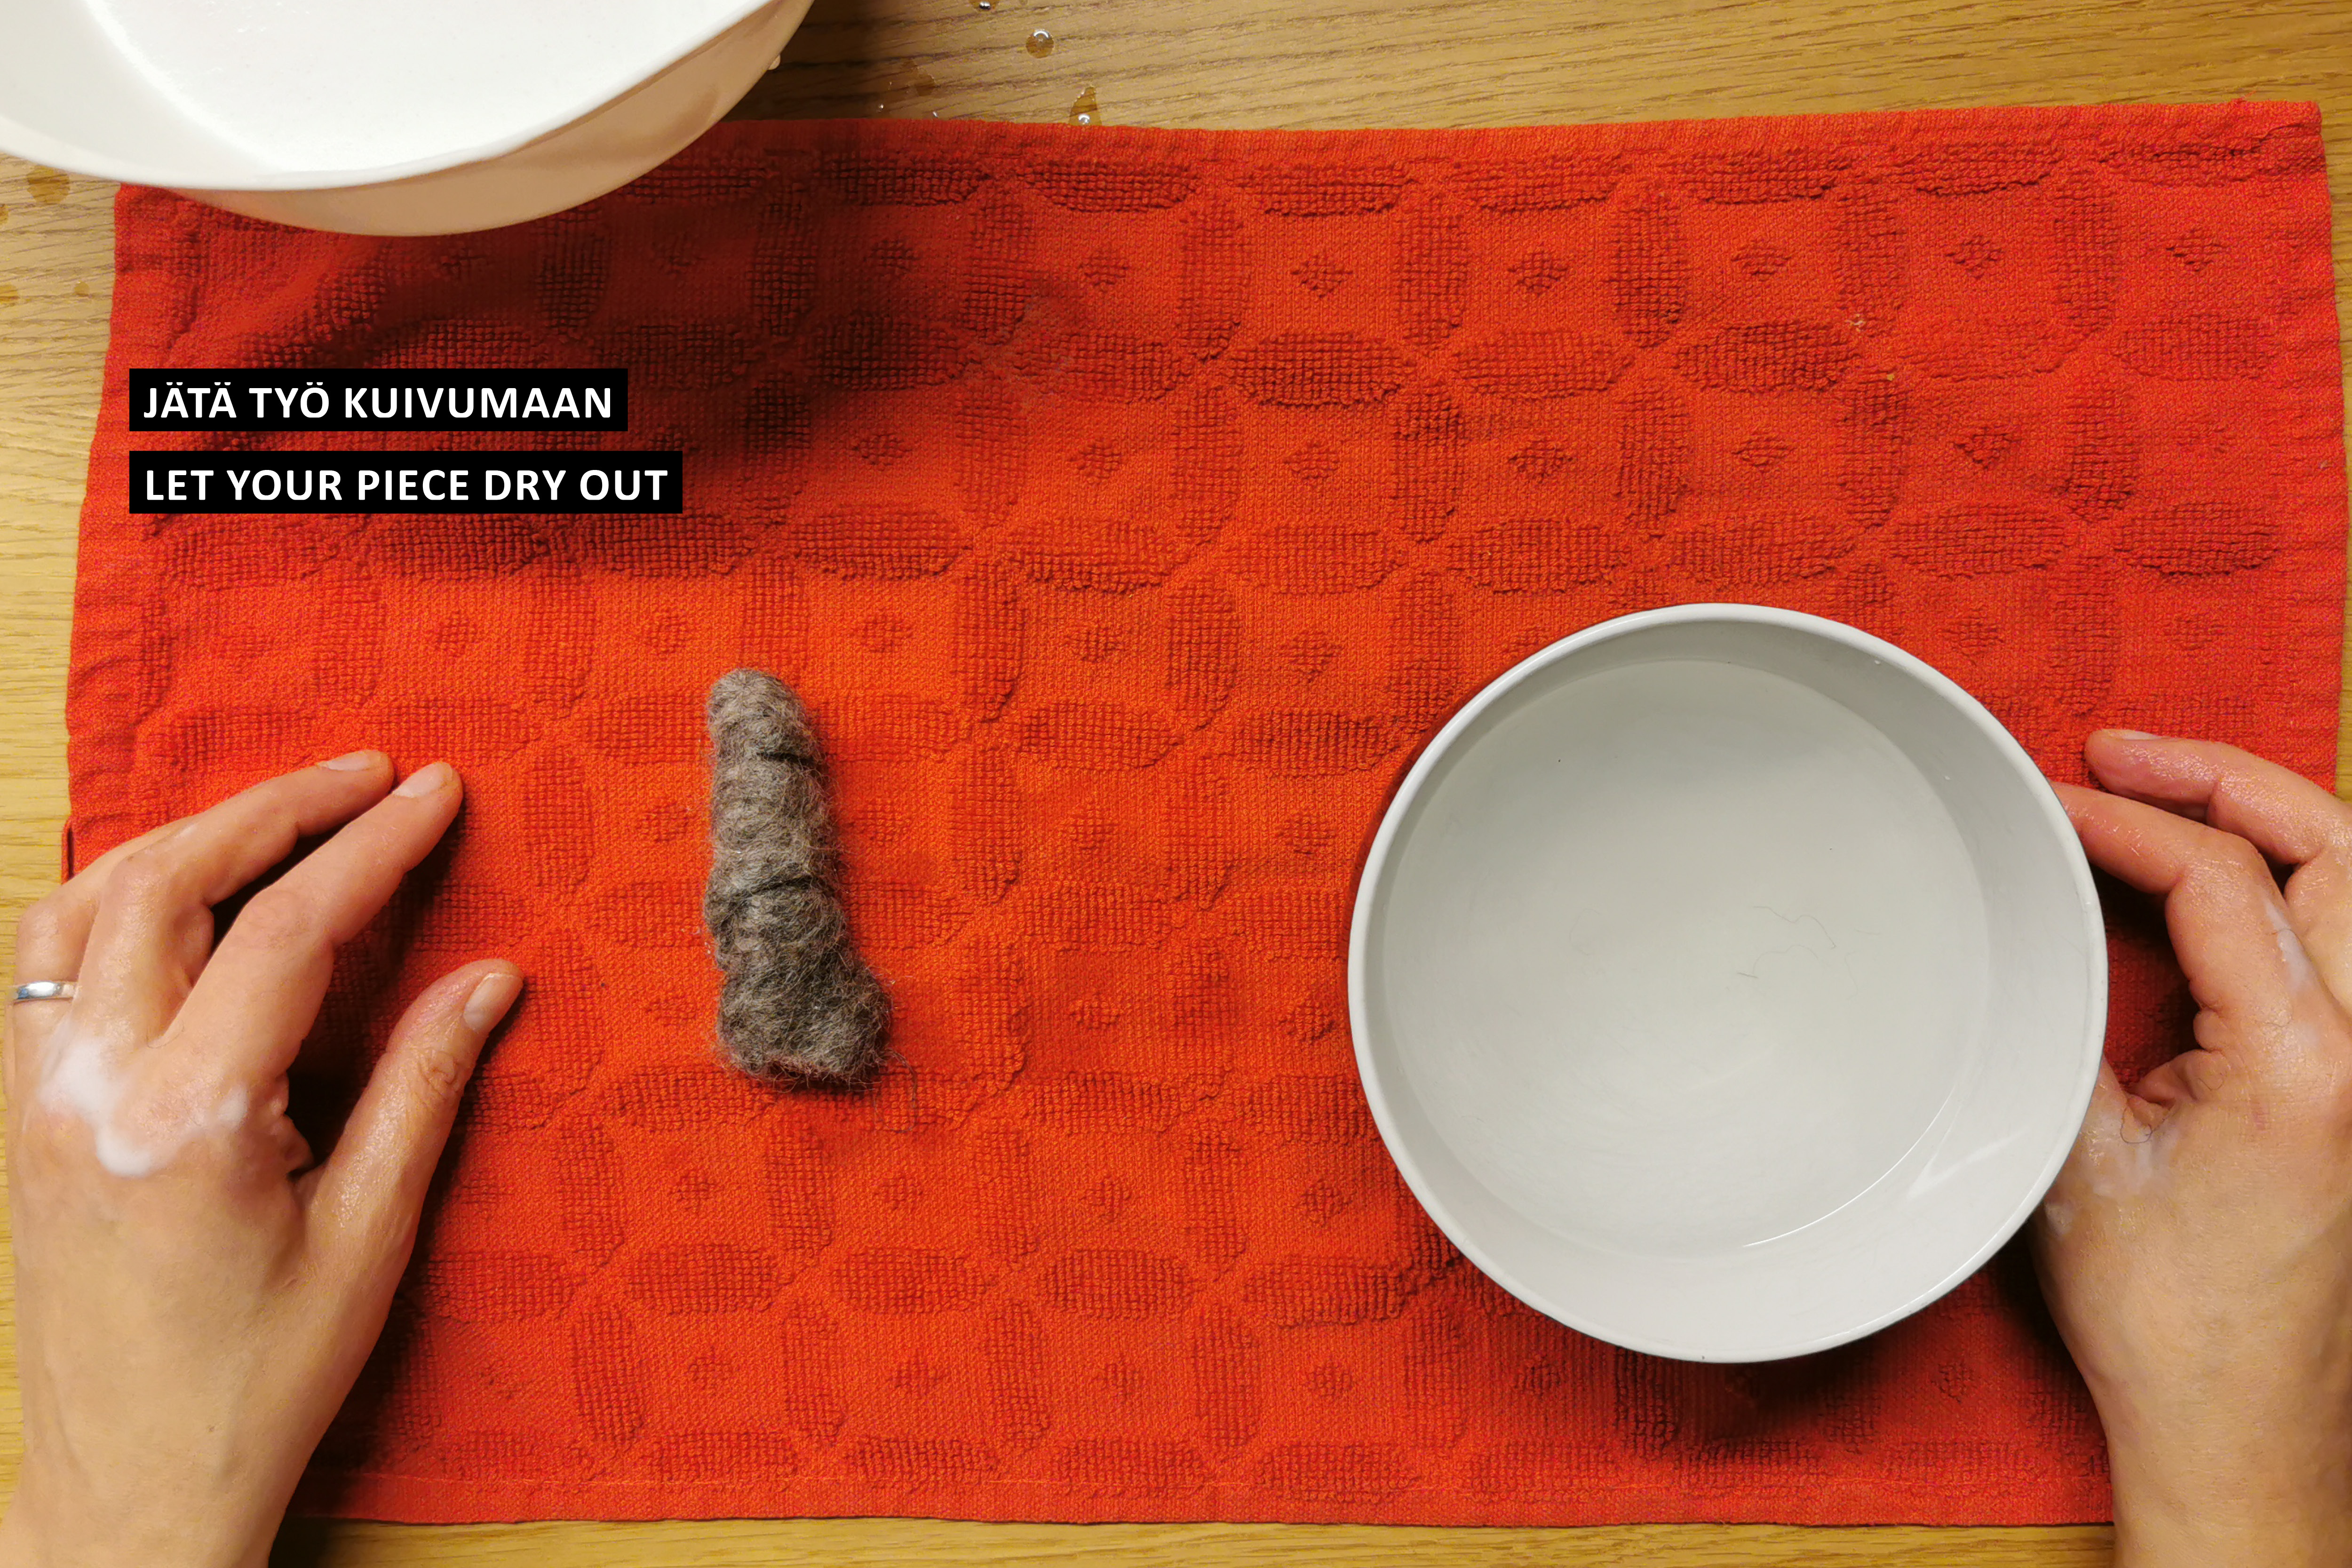
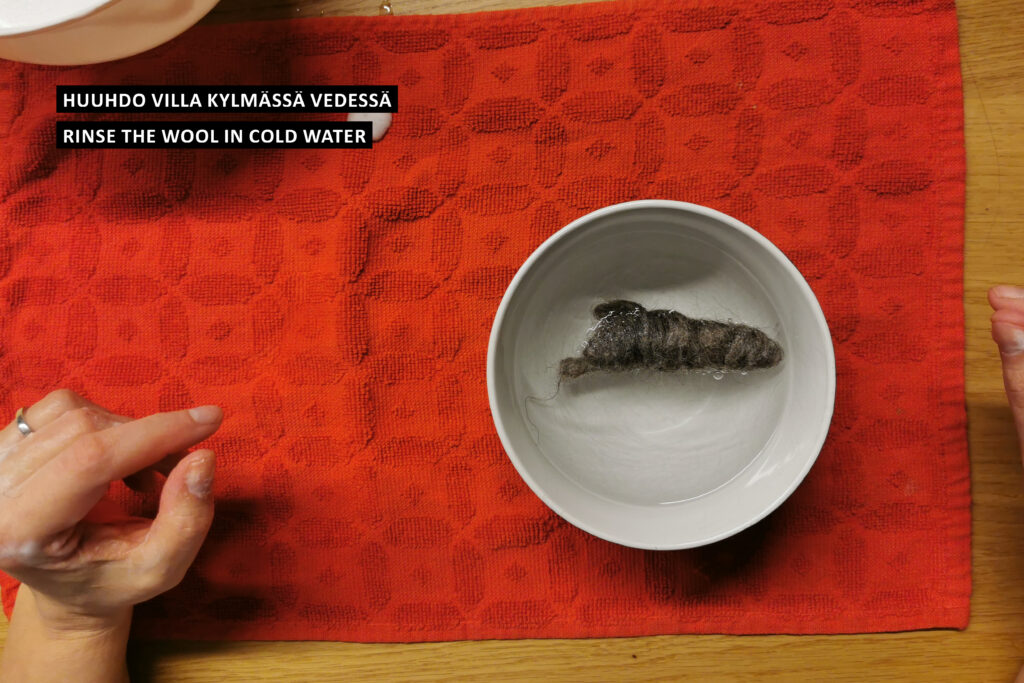
- When the wool feels thick and dense, rinse it with cold water. Cold water closes the fibers and makes your felt more durable.
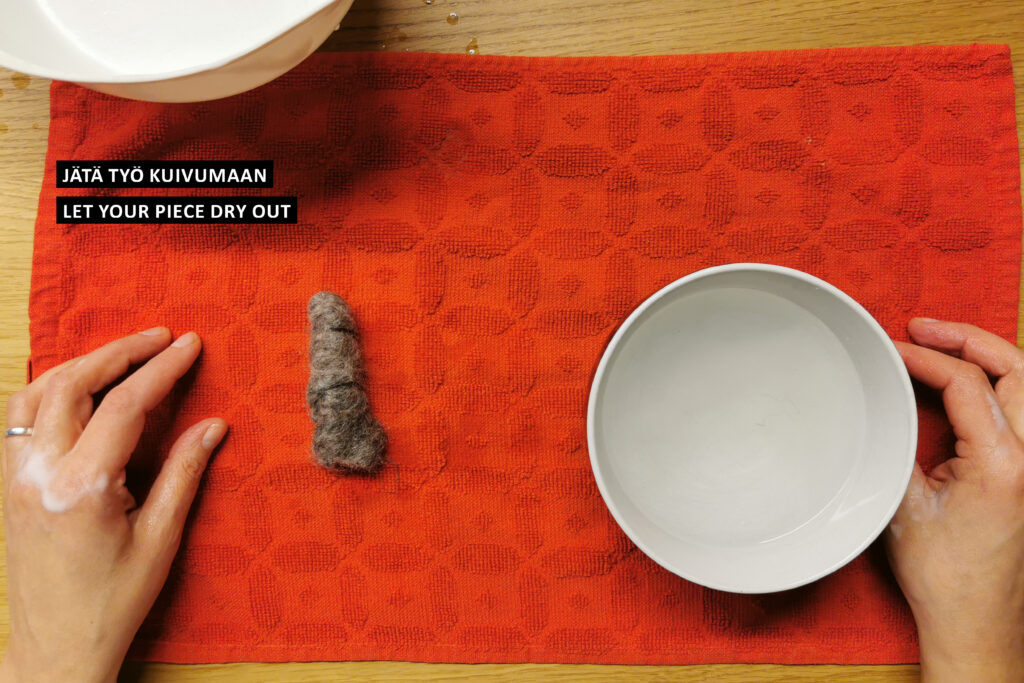
- Let your finger puppet dry.
- Finish the puppet by glueing details. Add a great deal of glue to make your pieces stick. You can even let the glue dry a little bit before adding more.